Part 1: Installing Workflow Manager for SharePoint Server 2013 (offline)
Part 2: Configuring Workflow Manager for SharePoint 2013
As mentioned in my previous post additional software is needed to create SharePoint 2013 workflows in a SharePoint Server 2013 farm.
In this article I’ll explain how to configure the Workflow Manager to use it with SharePoint Server 2013.
Make sure you already installed the Workflow Manager on your SharePoint server(s) as described here.
Workflow Manager Configuration
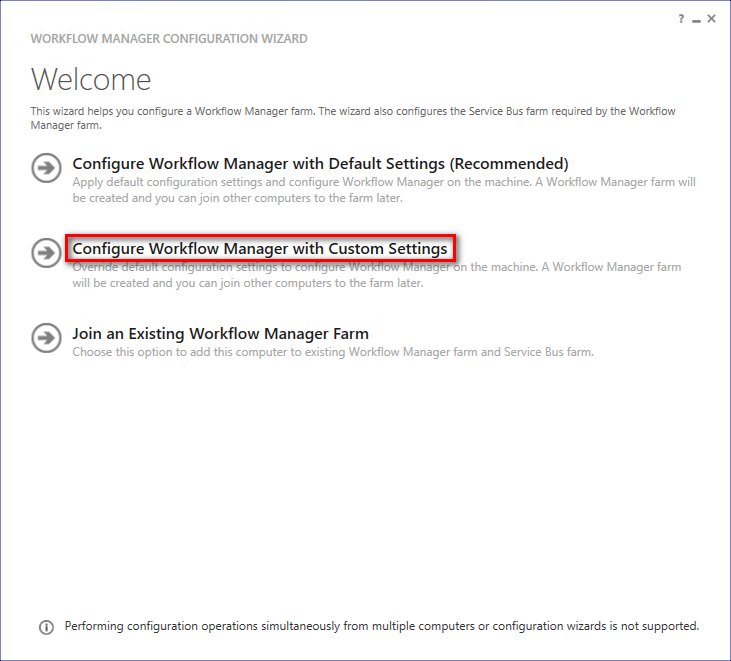
Run the Workflow Manager Configuration Wizard from the Start Menu on (one of) the SharePoint server(s)
Choose Configure Workflow Manager with Custom Settings
Configure Farm Management Database
- SQL Server Instance: Enter the name of your database instance or your SQL Alias
- Under Advanced Options check the box Use the above SQL Server instance and settings for all databases
- Database name: Specify the name of the Workflow Management database

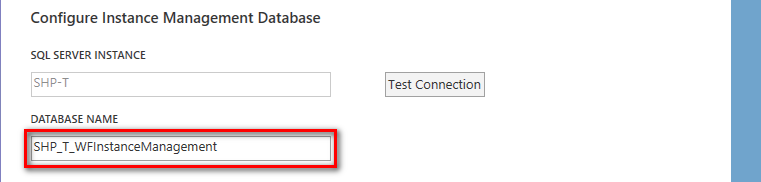
Configure Instance Management Database
- SQL Server Instance: Is already set because you checked the box Use the above SQL Server instance and settings for all databases in step 1.
- Database name: Specify the name of the Instance Management database
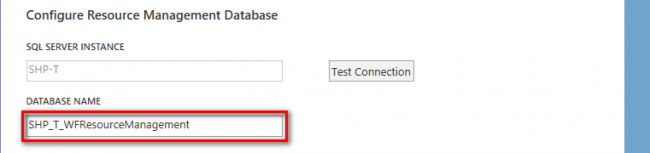
Configure Resource Management Database
- SQL Server Instance: Is already set because you checked the box Use the above SQL Server instance and settings for all databases in step 1.
- Database name: Specify the name of the Resource Management database
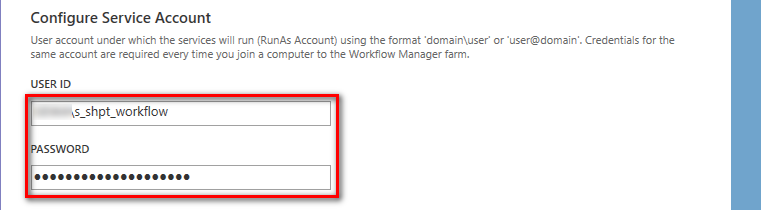
Configure Service Account
- User ID: Specify a dedicated service account. This account does not have any rights in your SharePoint farm.
- Password: Enter the password
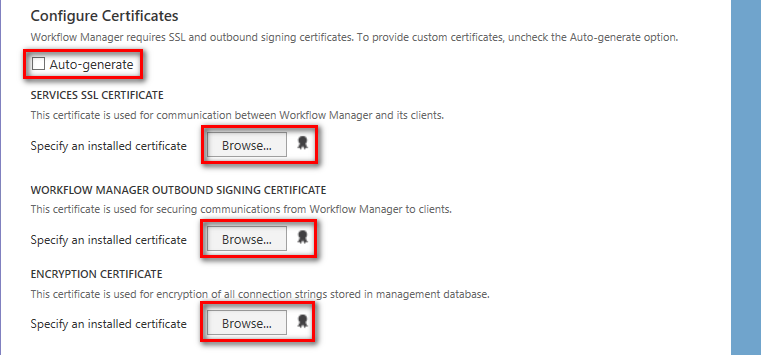
Configure Certificates
- Auto-generate: Uncheck the box Auto-generate certificates to use your own and trusted Wildcard certificate.
- Services SSL Certificate: Select your Wildcard certificate for the corresponding domain name
- Workflow Manager Outbound signing Certificate: Select your Wildcard certificate for the corresponding domain name
- Encryption Certificate: Select your Wildcard certificate for the corresponding domain name
Configure Ports
- Workflow Manager Management Port: Set port 12290 to use an SSL encyrpted connection
- HTTP Port: Even if you don’t want to allow unsecured connections you have to set a port. Enter 12291.
- Uncheck the box Allow Workflow management over HTTP on this computer to use to use secured connections only.
- Check the box Enable firewall rules on this computer

Configure Admin Group
- Specify a group for managing the Workflow Manager farm.

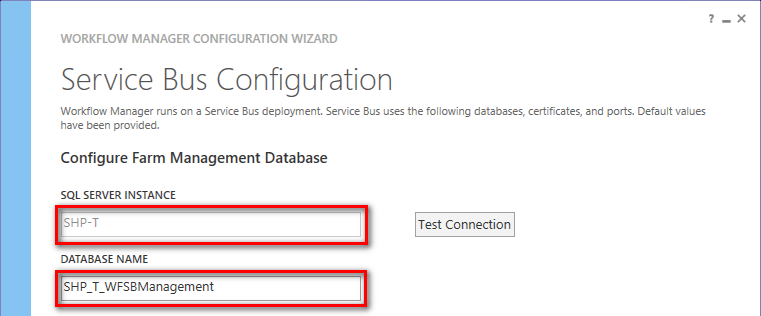
Service Bus Configuration
Configure Farm Management Database
- SQL Server Instance: Is already set because you checked the box Use the above SQL Server instance and settings for all databases in step 1 during the Workflow Manager Configuration.
- Database name: Specify the name of the Farm Management database
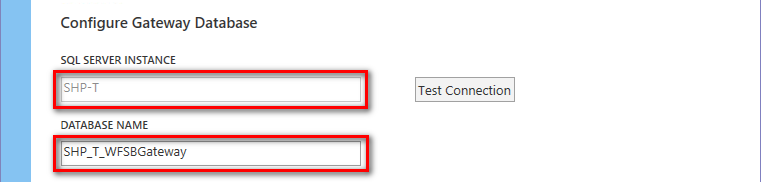
Configure Gateway Database
- SQL Server Instance: Is already set because you checked the box Use the above SQL Server instance and settings for all databases in step 1 during the Workflow Manager Configuration.
- Database name: Specify the name of the Gateway database
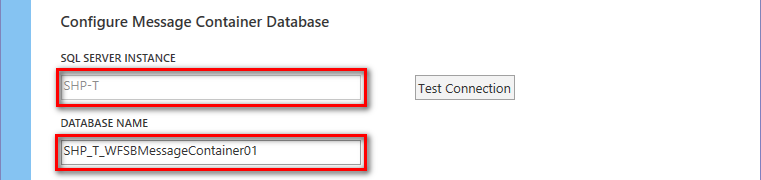
Configure Message Container Database
- SQL Server Instance: Is already set because you checked the box Use the above SQL Server instance and settings for all databases in step 1 during the Workflow Manager Configuration.
- Database name: Specify the name of the Message Container database
Configure Service Account
- Check the box Use the same service account credentials as provided for Workflow Manager (despite you want to use a dedicated service account for your Service Bus farm).

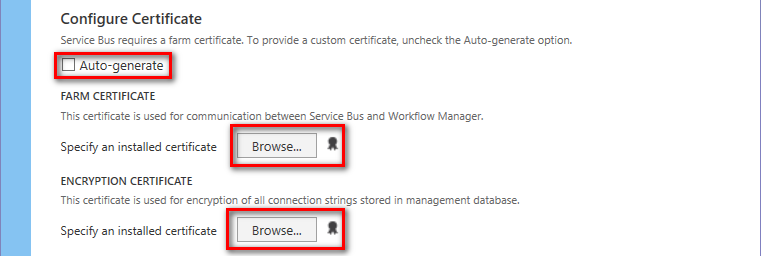
Configure Certificates
- Uncheck the box Auto-generate certificates to use your own and trusted Wildcard certificate.
- Farm Certificate: Select your Wildcard certificate for the corresponding domain name
- Encryption Certificate: Select your Wildcard certificate for the corresponding domain name
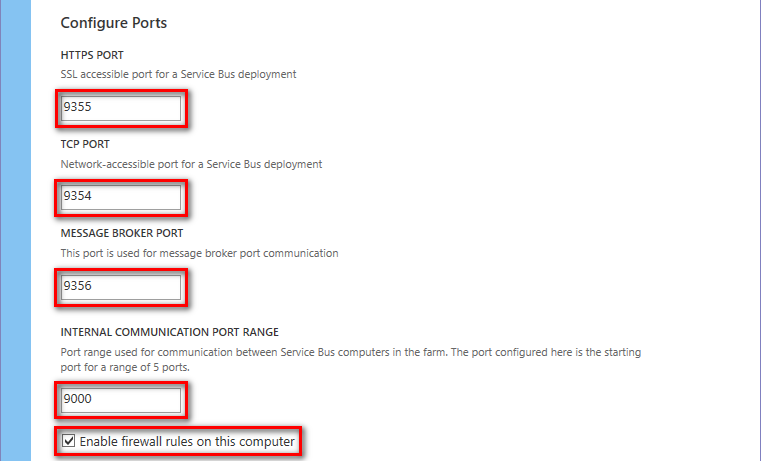
Configure Ports
- HTTPS Port: Use standard port 9355 or set your own port.
- TCP Port: Use standard port 9354 or set your own port.
- Message Broker Port: Use standard port 9356 or set your own port.
- Internal Communication Port Range: Use standard ports 9000-9004 or set your own port range.
Configure Admin Group
- Specify a group for managing the Service Bus farm.
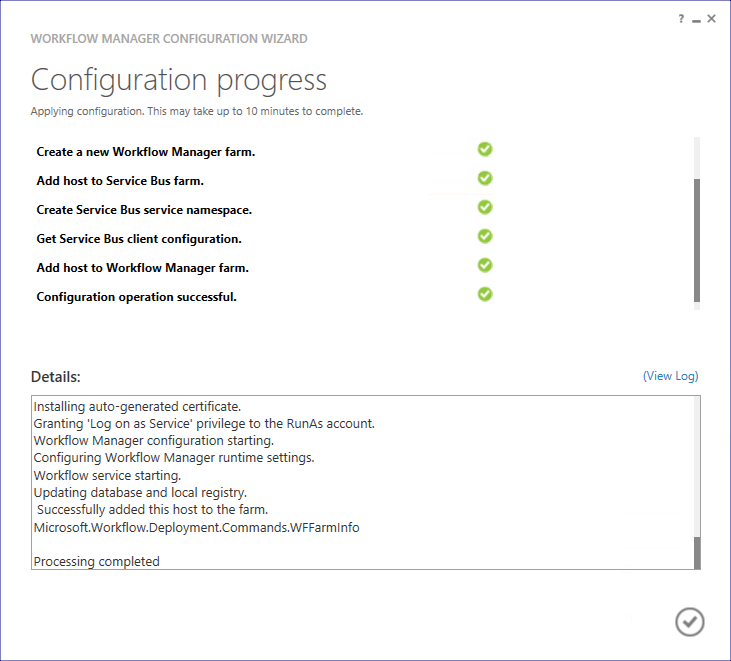
Start the configuration process>/h2>
Verify your settings on Summary page. Click the link Get PowerShell commands on the bottom of this page to export your configuration settings as a PowerShell script.
Hit the right arrow to start the configuration process.
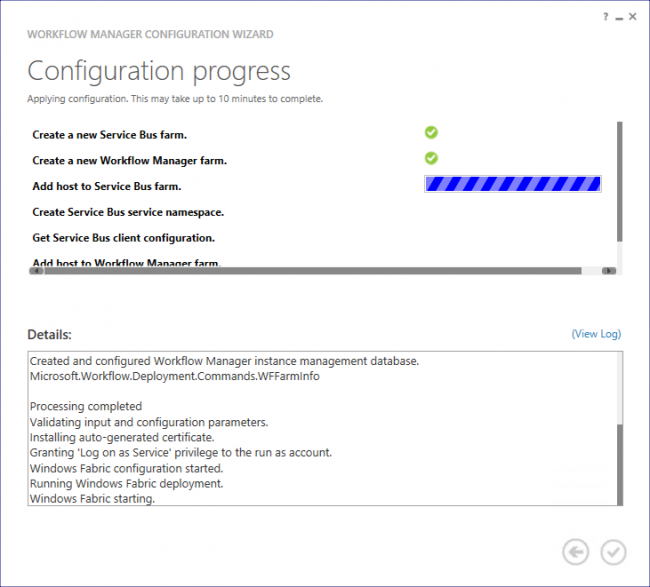

The wizard may take up to 10 minutes to complete.
Create a Workflow Manager Service Application
From the Start menu run the SharePoint Management Shell as administrator and execute the following command:
Register-SPWorkflowService -SPSite «https://sitecollection.yourdomain.com» -WorkflowHostUri «https://workflowservername.domain.com:12290»
Test the Workflow Manager
To test if the Workflow Manager Service Application has been created execute the following command:
Get-SPWorkflowServiceApplicationProxy
or verify it by browsing to SharePoint Central Administration > Application Management > Manage Service Applications
![]()
Open the SharePoint Designer and click Open Site and enter the URL of your Site Collection (in this example: http://sitecollection.domain.com).
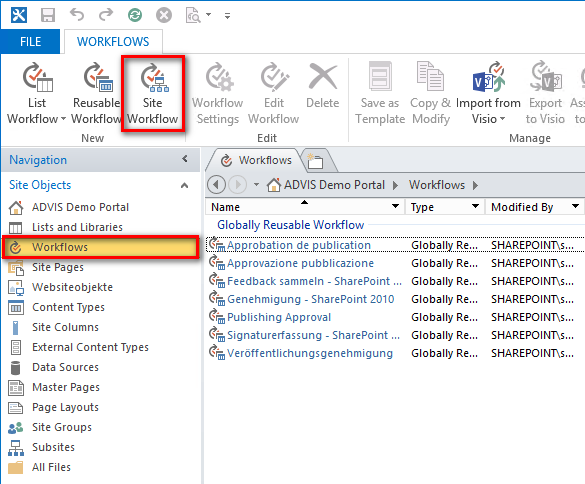
Go to the column Site Objects on the left side and click Workflows.
In the Ribbon click on Site Workflow.
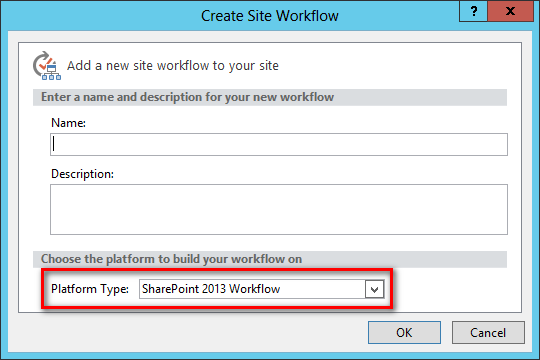
A new window opens.
If you can select SharePoint 2013 Workflow as Platform Type the Workflow Manager is working fine. Otherwise please double check your settings.
Workflow Manager Client
To make the Workflow 2013 engine available to all servers in your SharePoint farm you have to install the Workflow Client on every SharePoint server.
The binaries are located in the folder with your extracted Workflow installer files:
C:\Temp\WorkflowManager\installers\WorkflowClient\183D2A27A8C3F8A261B7B8EC930EC7005D0E9FC3\WorkflowManagerClient_x64.msi