Moving IIS Log Files (using PowerShell)
By default, all IIS logs are stored on the C: drive. This is not recommended, however, because on the one hand this causes performance loss (depending on the configuration) and on the other hand there is a risk that the system drive will run full and the OS will crash.
How to move SharePoint logs is described here: Moving SharePoint Trace and Usage Logs (using PowerShell)
Logs can be easily moved using PowerShell. The following commands must be executed on each SharePoint server in the SharePoint 2016 Management Shell.
Moving IIS Logs
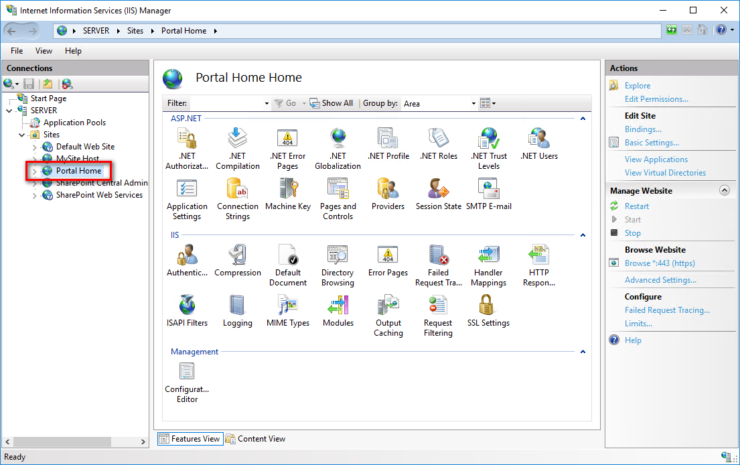
In the Internet Information Services (IIS) Manager, navigate to the Site for which you want to move the log files. In my example: Portal Home
Create the directory structure for storing the log files at the new location. In this example D:\Logs\IIS
Open the SharePoint 2016 Management Shell and run the following command:
Import-Module WebAdministration
Customize the PowerShell command to move IIS logs. Enter the name of the IIS site at <Sitename> and replace <NewIISLogPath> with the path where the IIS log files are to be stored in the future.
Set-ItemProperty «IIS:\Sites\<Sitename>» -name logFile.directory -value «<NewIISLogPath>»
In this example, the command looks like this:
Set-ItemProperty «IIS:\Sites\Portal Home» -name logFile.directory -value «D:\Logs\IIS\Portal Home»
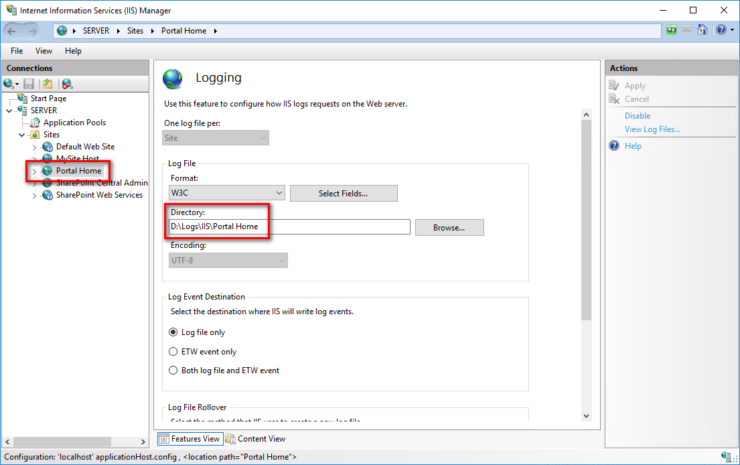
Navigate to Logging of the IIS Site to change the IIS logging directory. Of course, you can also simply enter the new path here instead of using PowerShell.