Install the following components on your system to connect to your Microsoft Azure subscription using PowerShell:
Microsoft Online Service Sign-in Assistant for IT Professionals RTW
Select the appropriate version of your OS
Azure Active Directory Module for Windows PowerShell (64-bit version)
The 32-bit version is discontinued by October 20, 2014.
You must be a tenant administrator (i.e. company administrator, global administrator) to successfully establish a connection to your Azure subscription using PowerShell. Read here how to assign admin roles in Azure AD.
You’re now ready to connect to your Azure subscription using PowerShell!
- To do so, run the Microsoft Azure PowerShell console as administrator
- Enter the following PowerShell command:
Add-AzureAccount
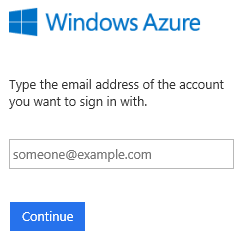
- You are prompted to enter your Azure credentials:
- If you have a work or school account, you can bypass the pop up windows using this command:
$cred = Get-Credential
Add-AzureAccount -Credential $cred
- When connecting the first time to your Azure subscription using PowerShell you need to download, save and import your Publishing Settinge Profile.
Get-AzurePublishSettingsFile
- Sign in to your Azure Management Portal
- When prompted, download and save the publishing profile (depending on your client settings the download may start automatically)
- Import the previously downloaded publishing profile
Import-AzurePublishSettingsFile "C:\Path\To\Your\AzurePublishingSettings-credentials.publishsettings"
You’re all set. Start managing your Microsoft Azure subscription using this great overview of the Azure AD cmdlets.